Goodbye silently, happy dynamic videos! How easy it is with JumpCutter in Windows 10

Optimize your videos with Jumpcutter. This powerful, open-source, Python-based tool allows you to make precise edits to your videos, automatically removing silent sections.
Prerequisites:
- Python: Install it from https://www.python.org/downloads/windows/ following the installer's instructions. Make sure to check the "Add Python 3.x to PATH" option during installation.
- Jumpcutter: Clone the repository from GitHub: git clone https://github.com/carykh/jumpcutter Basic usage: Once Python is installed and the repository is cloned, run the script from the command line: python jumpcutter.py -i input_video.mp4 -o output_video.mp4
Customization: Jumpcutter offers a variety of configuration options to fine-tune the silence detection and removal process. See the official documentation for more details.
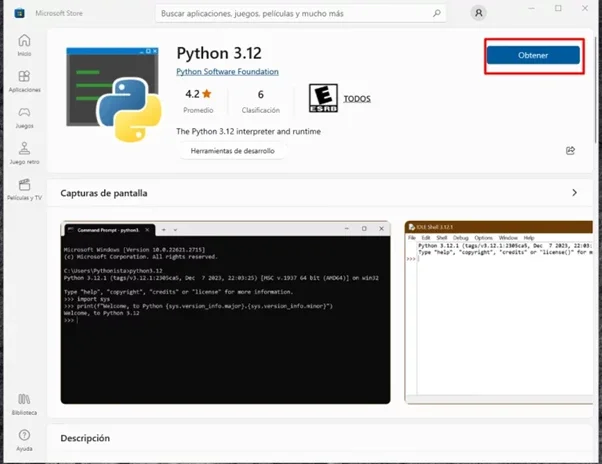
Detailed installation on Windows 10 / Windows 11
We download the ffmpeg library https://github.com/GyanD/codexffmpeg/releases/download/2024-01-07-git-90bef6390f/ffmpeg-2024-01-07-git-90bef6390f-essentials_build.zip
Descomprimos y copiamos la carpeta a la unidad C
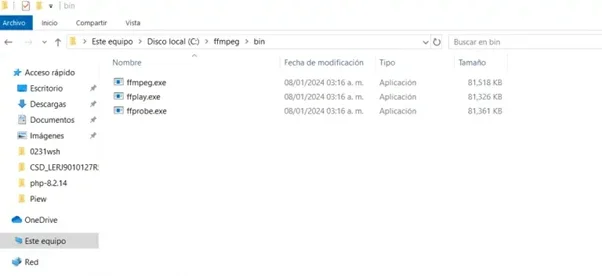
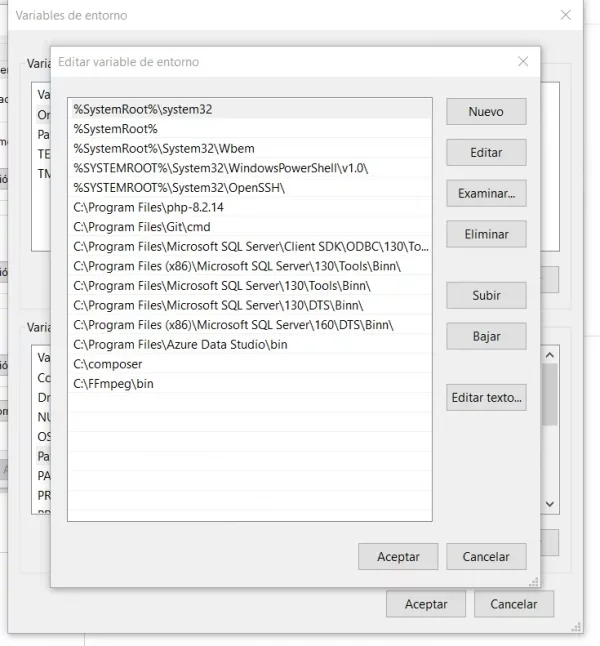
We added the patch C:\FFmpeg\bin to the variables at that time
We enter the jumpcutter folder by cmd and write the following command to install the requirements pip install --user -r requirements.txt
If it doesn't ask for them, we update pip with the following command python -m pip install --upgrade pip
And that's it, we just copy the video file into the jumpcutter folder, for example 1.mp4 and assuming it's a 30-frame video, we write the following command
python jumpcutter.py --input_file 1.mp4 --sounded_speed 1 --silent_speed 999999 --frame_margin 2 --frame_rate 60
With that, a video with the silences cut out will be generated 1_altered.mp4


Comments
Post a Comment